Configure UPS in Ship/FX
API – UPS
Production URL:
https://onlinetools.ups.com/ups.app
SandBox URL:
https://wwwcie.ups.com/ups.app
Consult the following post for more information on APIs and Ship/FX: API SSL Configuration for Ship/FX
Ship/FX: UPS Onboarding
Consult the following post: Ship/FX: UPS Onboarding
Ship/FX Admin
Consult the following post for more details: Ship/FX Administration: Add a new account/new provider
Connect to the Ship/FX Admin: https://{localhost}:8000/aFORMz/SHIPFXAdmin
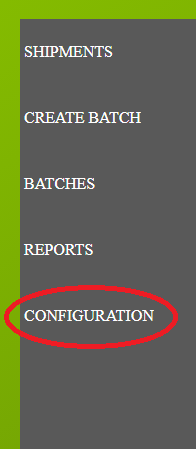
From the menu to the left, select Configuration.
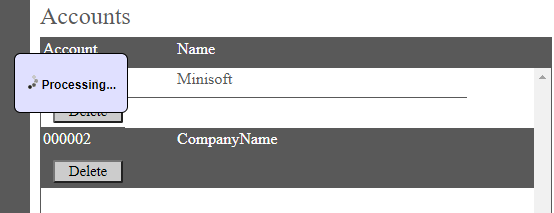
Add a new account.

After adding the account, select the account from the Accounts field.
Add a new profile.
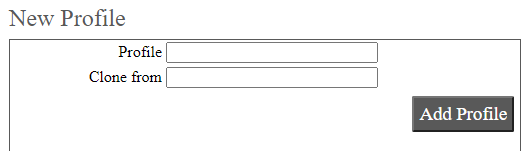
Select the new profile from the Account field.

From the Profile Configuration, select UPS API.
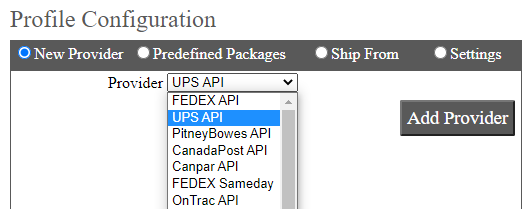
UPS has been added. Select the API.

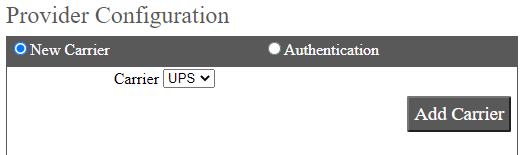
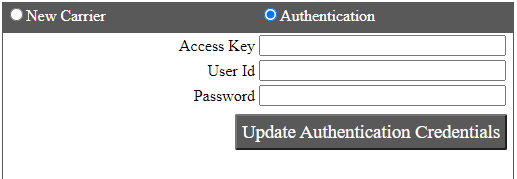
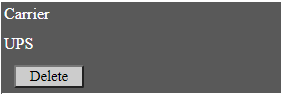
Add UPS as a carrier. From the Authentication tab, add the following: Access Key, User ID and Password. Select the UPS carrier.
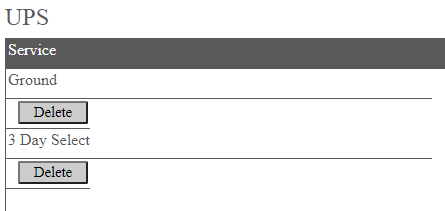
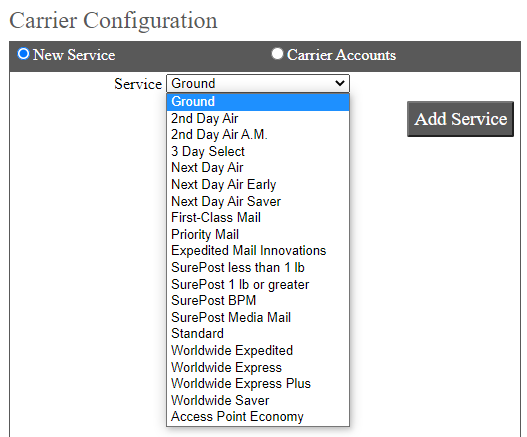
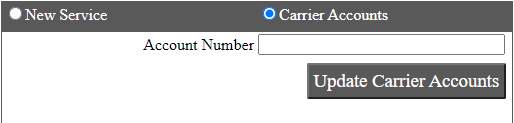
Add the service and enter the Account Number.
Save your configuration.