Configure Canada Post in Ship/FX
Consult the following post for more details: Ship/FX Administration: Add a new account/new provider
Connect to the Ship/FX Admin: https://{localhost}:8000/aFORMz/SHIPFXAdmin
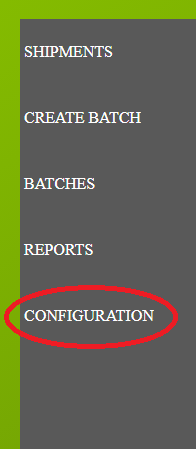
From the menu to the left, select Configuration.
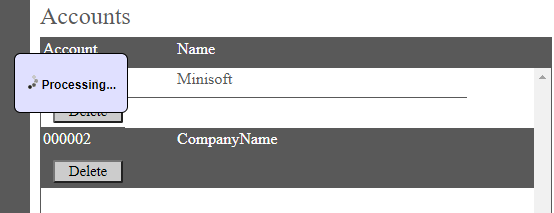
Add a new account.

After adding the account, select the account from the Accounts field.
Add a new profile.
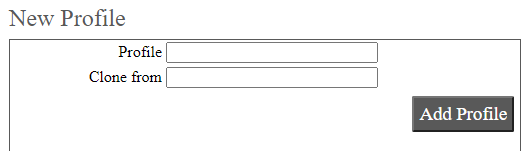
Select the new profile from the Account field.

From the Profile Configuration, select CanadaPost API.
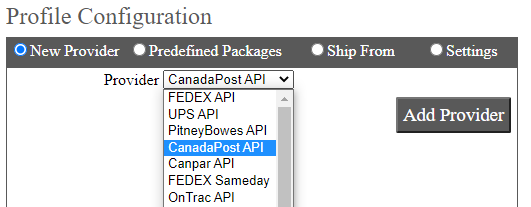
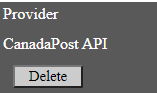
Canada Post has been added. Select the API.
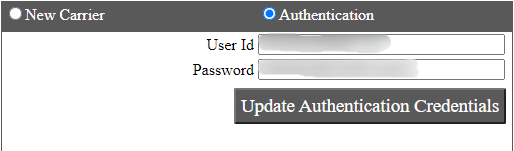
Add CanadaPost as a new carrier. Add the User and Password.
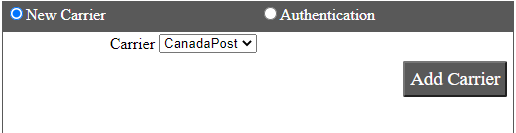
Select the CanadaPost carrier.
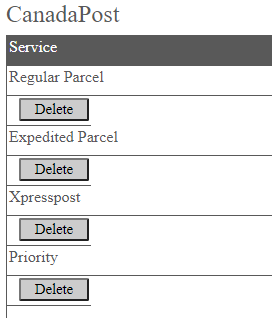
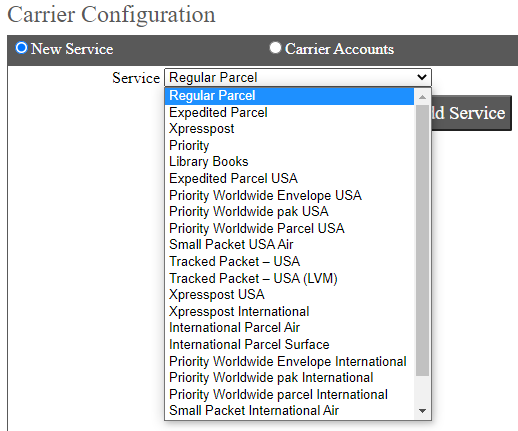
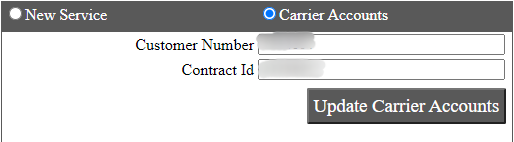
Select the service. Canada Post offers several services, including Regular Parcel, Expedited Parcel, Xpresspost, Priority and many more. Enter the carrier account information (Customer Number and Contract ID).
Save your configuration.