GS1 logistic labels (UCC-128, SSCC, B/L, PRO)
Note: For GS1-128 barcodes, view the following resource: GS1-128 (UCC-128/SCC)
eFORMz can generate GS1 logistics labels, also known as GS1-128 or UCC-128 labels. Download a sample eFORMz project here: GS1UCCLabel.zip.
Serial Shipping Container Code
Carrier Routing Barcode (Ship To Postal Code)
First, create a variable for the ship to zip code (ShipToZip in this example).

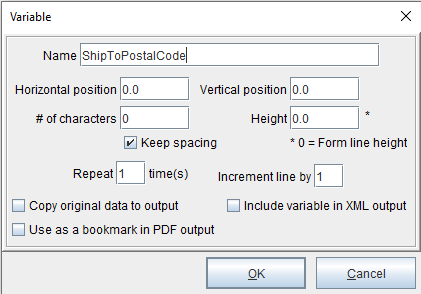
Create a variable by position for the ship to barcode (ShipToPostalCode in this example).
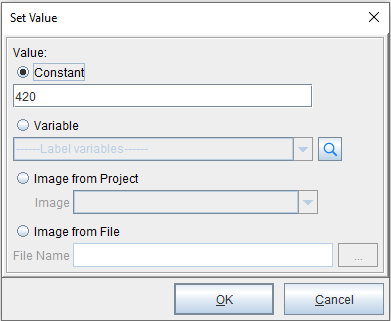
Right-click the ShipToPostalCode variable and select Add Function > Set Value. Enter 420.
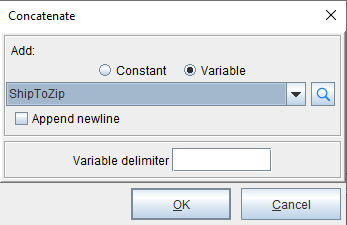
Right-click the ShipToPostalCode variable and select Add Function > Concatenate. Select the ShipToZip variable.
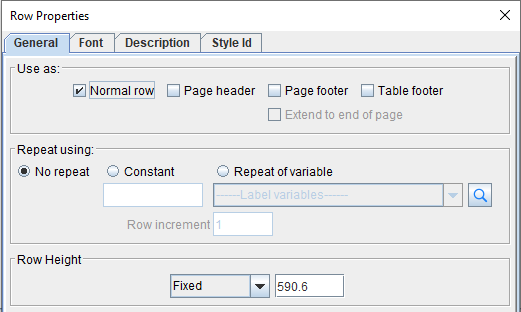
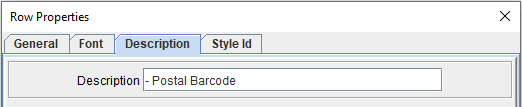
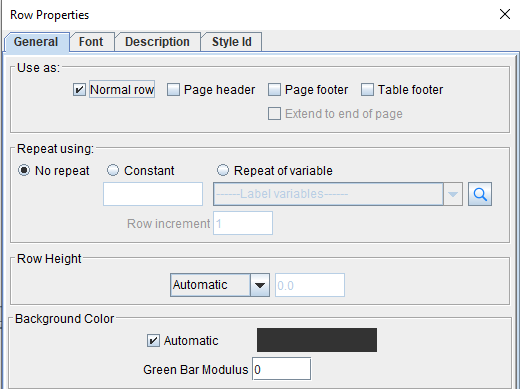
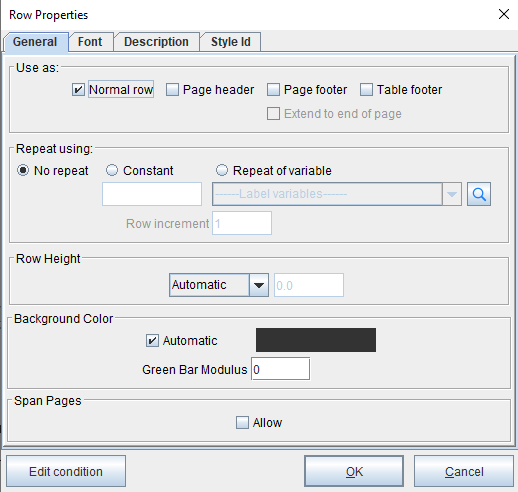
Right-click the table and select Add Row. Adjust the row height (590.6, fixed in this example). Enter a descriptive name. Click OK.
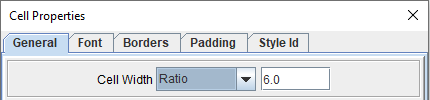
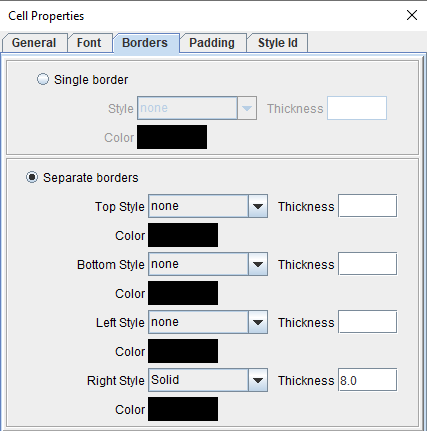
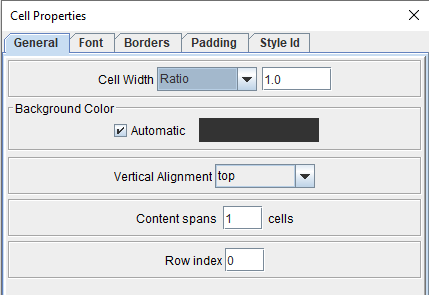
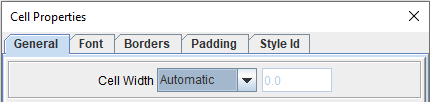
Right-click the row and select Add Cell. Adjust the cell width to Ratio, 6.0 in this example. Add a solid border on the right, thickness of 8.0.
Right-click the cell and select Add Document Component > Paragraph.
Right-click the paragraph and select Add text... > Text value. Enter Ship to postal code. Adjust the font as needed. Click OK.
Right-click the cell and select Add Document Component > Paragraph. This paragraph is for spacing.
Right-click the cell and select Add Document Component > Table.
Right-click the table and select Add Row. Click OK.
Right-click the row and select Add Cell. For the cell width, select Ratio, 1.0. Click OK.
Right-click the cell and select Add Document Component > Paragraph. This paragraph is for spacing.
Right-click the row and select Add Cell. For the cell width, select Ratio, 2.0. Click OK.

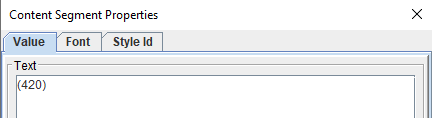
Right-click the cell and select Add Document Component > Paragraph. Click OK.
Right-click the paragraph and select Add text... > Text value. Enter (420). Click OK.
Right-click the row and select Add Cell. For the cell width, select Ratio, 3.0. Click OK.
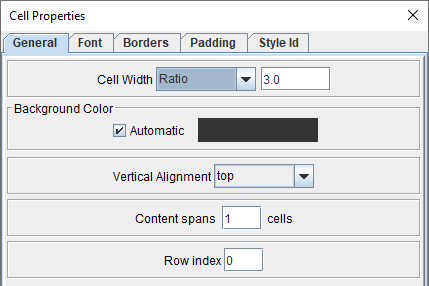
Right-click the cell and select Add Document Component > Paragraph. Click OK.

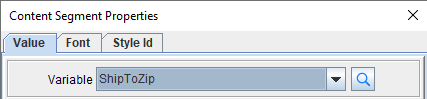
Right-click the paragraph and select Add text... > Variable value. Select ShipToZip.
Right-click the table and select Add Row. Click OK.
Right-click the row and select Add Cell. For the cell width, enter a fixed width (1520.0 in this example). Click OK.

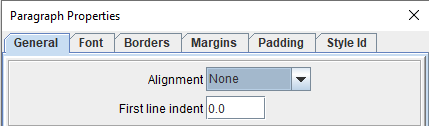
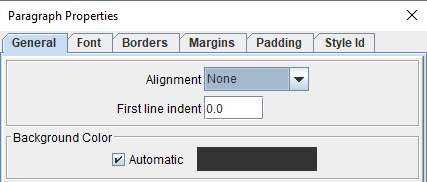
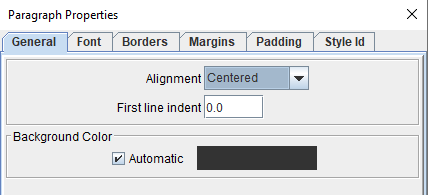
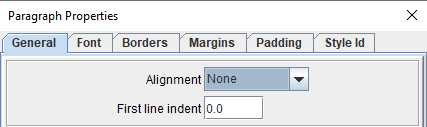
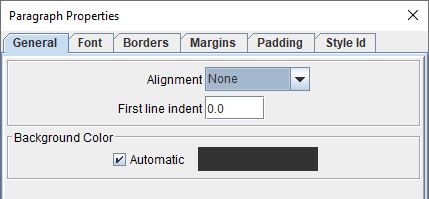
Right-click the cell and select Add Document Component > Paragraph. Choose a centered alignment. Click OK.
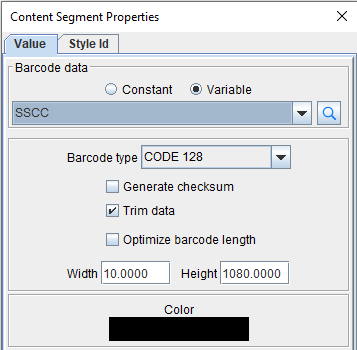
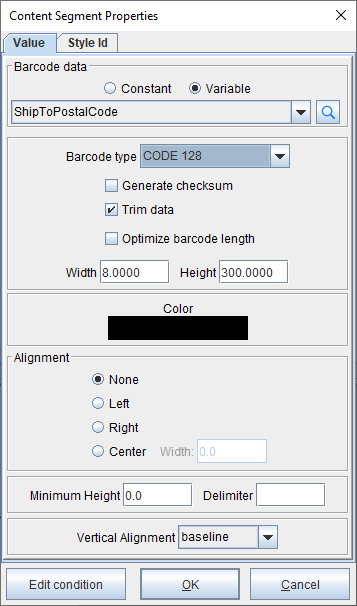
Right-click the paragraph and select Add barcode... > 1D barcode. Select the ShipToPostalCode variable. Choose the CODE 128 option. Uncheck Generate checksum if you already have the check digit in the variable value. Adjust the width and height as needed.
Bill of Lading (B/L) / Progressive Number (PRO)
The BOL number identifies the specific bill that was used in a carrier transaction. The progressive number, or PRO number, is used to track a specific order tendered to a specific carrier.
Variables
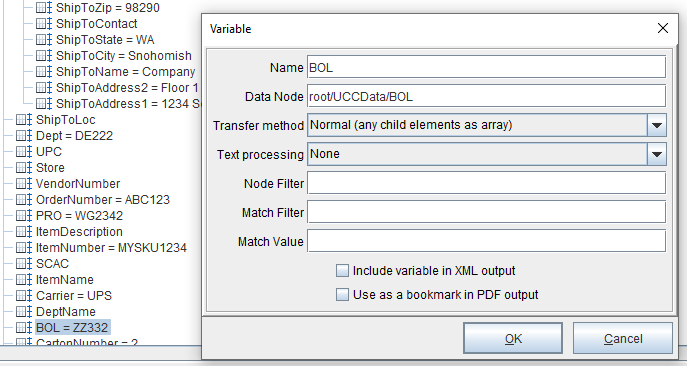
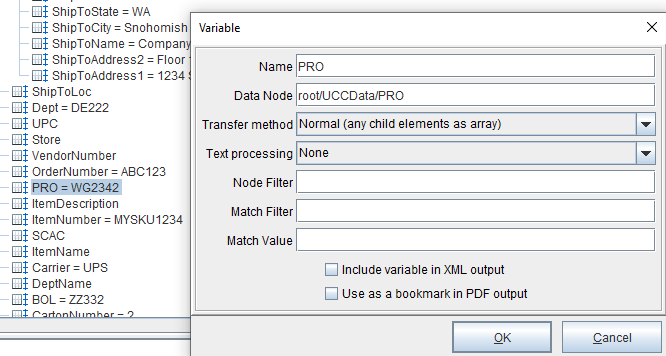
Right-click the respective data nodes (Carrier, BOL, PRO) and select Add Variable.

Placing the Carrier, B/L and PRO
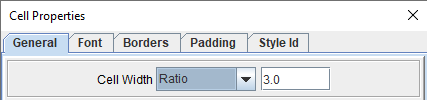
To begin, right-click the carrier routing barcode row and select Add Cell.

Adjust the width and padding as needed. Click OK.

Right-click the cell and select Add Document Component > Paragraph.
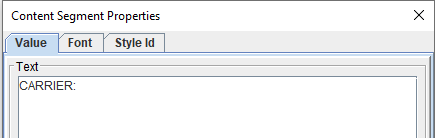
Right-click the paragraph and select Add text... > Text value. Enter CARRIER:.
Right-click the cell and select Add Document Component > Paragraph.
Right-click the paragraph and select Add text... > Variable value. Select the Carrier variable.

Right-click the cell and select Add Document Component > Paragraph. This is merely for spacing purposes.
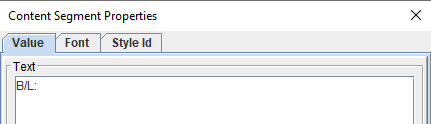
Right-click the cell and select Add Document Component > Paragraph. Right-click the paragraph and select Add text... > Text value. Enter B/L:.
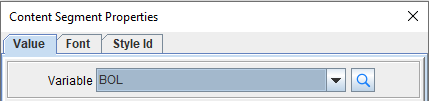
Right-click the paragraph and select Add text... > Variable value. Select the BOL variable.
Right-click the cell and select Add Document Component > Paragraph. This is merely for spacing purposes.
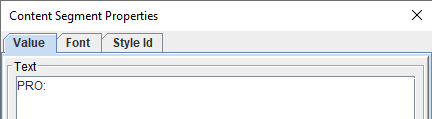
Right-click the cell and select Add Document Component > Paragraph. Right-click the paragraph and select Add text... > Text value. Enter PRO:.
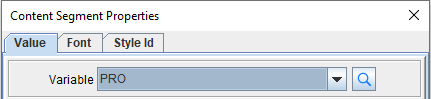
Right-click the paragraph and select Add text... > Variable value. Select the PRO variable.
Purchase Order / Department Number
Video tutorial here: Add the PO# and the Dept# (GS1 Logistic Label)
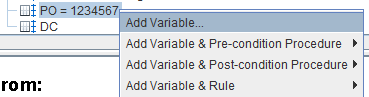
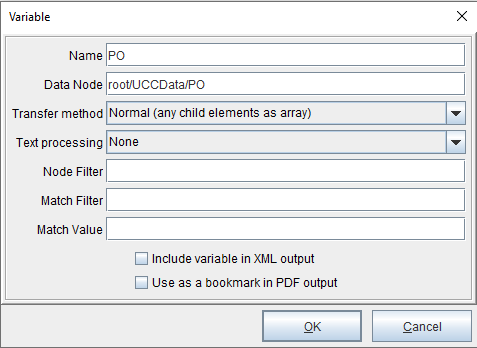
Right-click the PO data field and select Add Variable. Click OK.
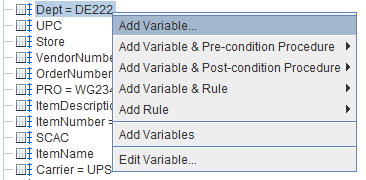
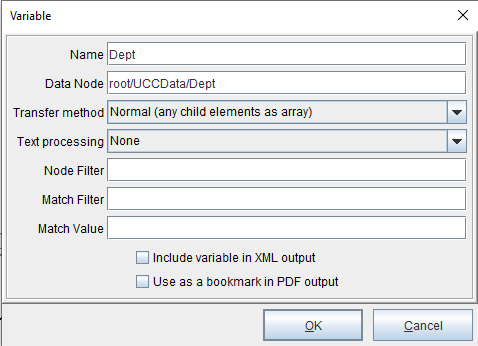
Right-click the Dept data field and select Add Variable. Click OK.
Right-click the table and select Add Row. Click OK.

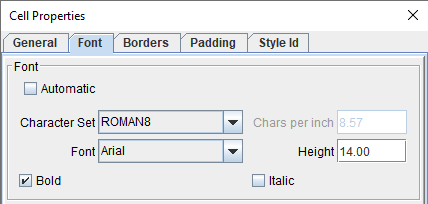
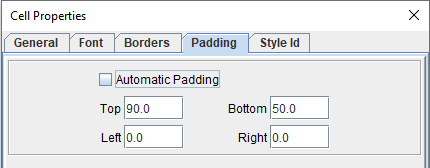
Right-click the row and select Add Cell. Make the font bigger. In this example: Arial, size 14 and bold. Add some padding. In this example: Top, 90.0, Bottom, 50.0. Once the adjustments are made, click OK.
Right-click the cell and select Add Document Component > Paragraph. Click OK.
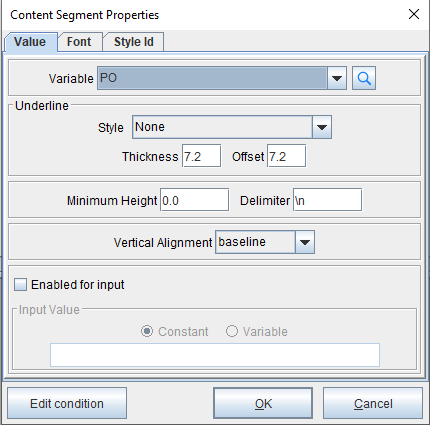
Right-click the paragraph and select Add text... > Text value. Enter PO: .

Right-click the paragraph and select Add text... > Variable value. Select PO.
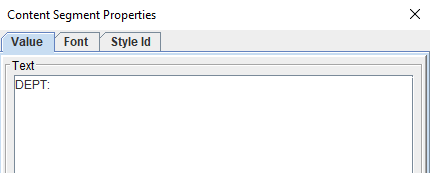
Right-click the paragraph and select Add text... > Text value. Enter DEPT: .
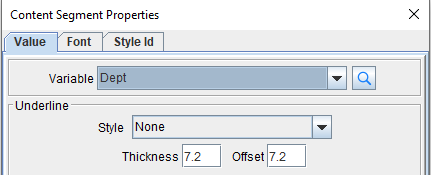
Right-click the paragraph and select Add text... > Variable value. Select DEPT.
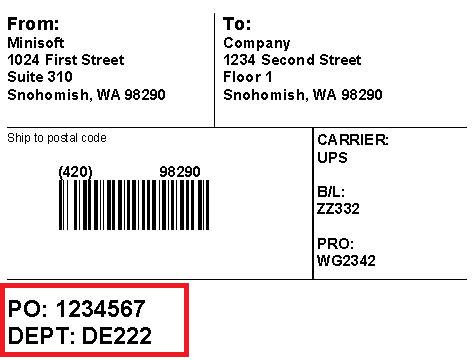
The purchase order number and the department number will display.
Serial Shipping Container Code
The serial shipping container code (SSCC) is an 18-digit barcode used to scan and track cartons and pallets. It is a key element of a GS1 logistic label. Video tutorial here: SSCC (GS1 Logistic Label)
SSCC variable
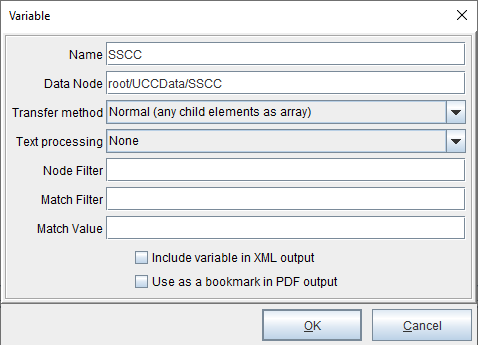
Right-click the SSCC data field and select Add Variable.
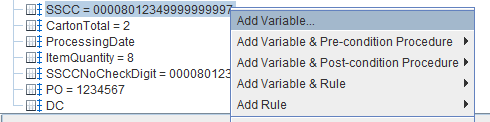
Select OK.
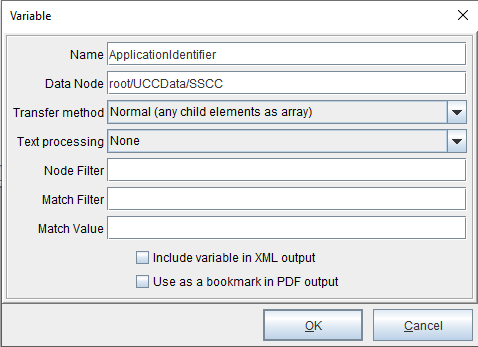
Application Identifier variable
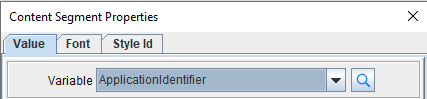
Right-click the SSCC data field and select Add Variable. Change the name to ApplicationIdentifier.
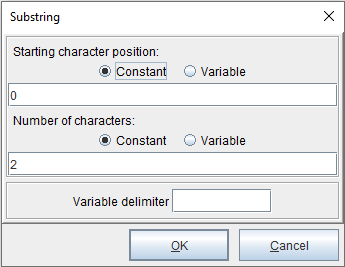
Right-click ApplicationIdentifier and select Add Function > Substring. Set the starting character position at 0 and the number of characters at 2.
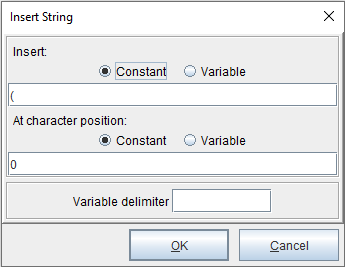
Right-click ApplicationIdentifier and select Add Function > Insert String. Enter ( at character position 0.
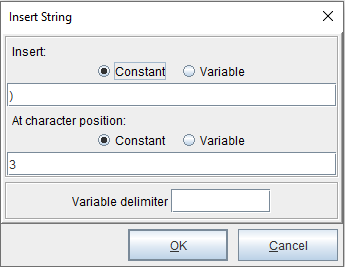
Right-click ApplicationIdentifier and select Add Function > Insert String. Enter ) at character position 3.
Extension Digit variable
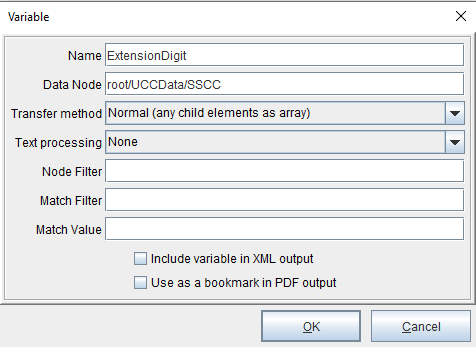
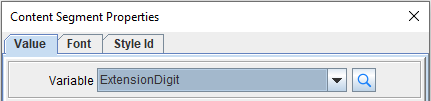
Right-click the SSCC data field and select Add Variable. Change the name to ExtensionDigit.
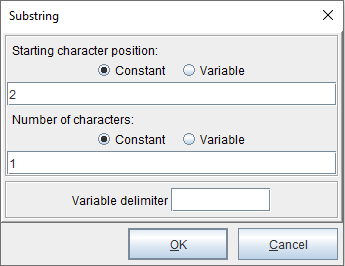
Right-click ExtensionDigitAdd Function > Substring. Set the starting character position at 2 and the number of characters at 1.
GS1 Company Prefix variable
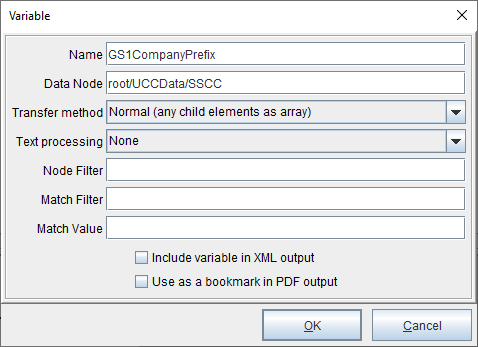
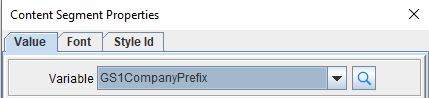
Right-click the SSCC data field and select Add Variable. Change the name to GS1CompanyPrefix.
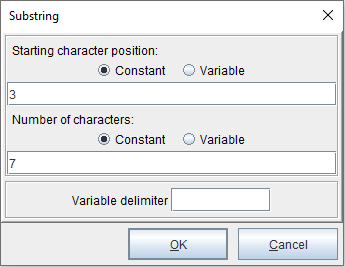
Right-click GS1CompanyPrefixAdd Function > Substring. Set the starting character position at 3 and the number of characters at 7.
Serial Reference variable
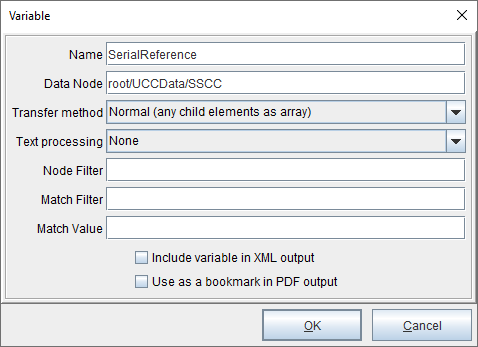
Right-click the SSCC data field and select Add Variable. Change the name to SerialReference.
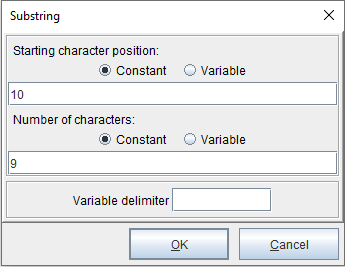
Right-click SerialReferenceAdd Function > Substring. Set the starting character position at 10 and the number of characters at 9.
Check digit
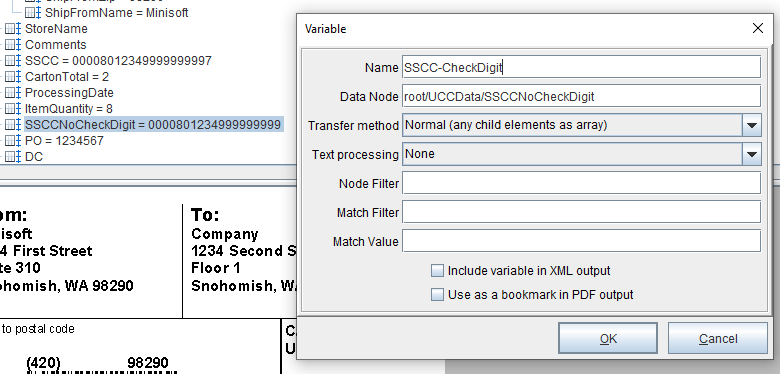
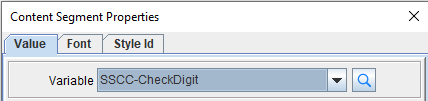
If the SSCC doesn’t have a check digit, it can be generated with the UPC-EAN check digit function. First, create a variable for the SSCC value.
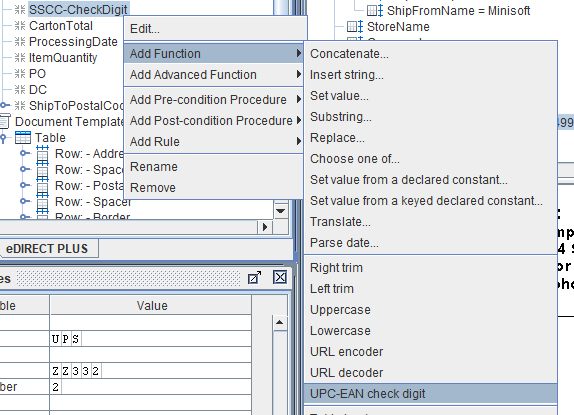
Right click the variable (SSCC-CheckDigit) and select Add Function > UPC-EAN check digit.
Place the SSCC number
First, right-click the table and select Add Row. Click OK.

Right-click the row and select Add Cell. Select OK.
Right-click the cell and select Add Document Component > Paragraph. Click OK.
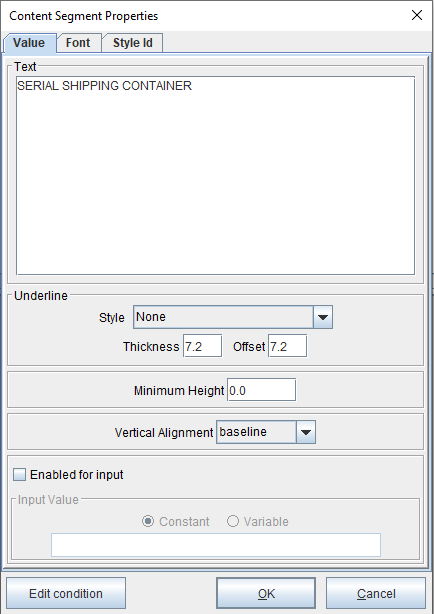
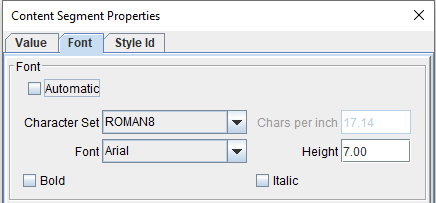
Right-click the paragraph and select Add text... > Text value. Enter SERIAL SHIPPING CONTAINER. Adjust the font as needed.
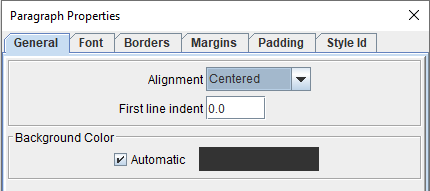
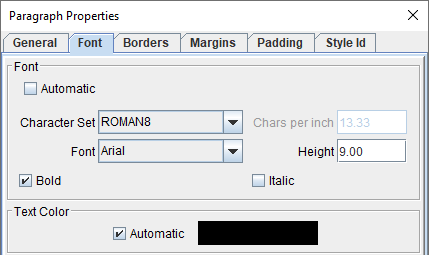
Right-click the cell and select Add Document Component > Paragraph. From the Alignment drop-down menu, select Centered. Adjust the font as necessary. Click OK.
Right-click the paragraph and select Add text... > Variable value. Select ApplicationIdentifier.
Right-click the paragraph and select Add text... > Text value. Enter a space.
Right-click the paragraph and select Add text... > Variable value. Select ExtensionDigit.
Right-click the paragraph and select Add text... > Text value. Enter a space. Right-click the paragraph and select Add text... > Variable value. Select GS1CompanyPrefix.
Right-click the paragraph and select Add text... > Text value. Enter a space. Right-click the paragraph and select Add text... > Variable value. Select SerialReference.

Right-click the paragraph and select Add text... > Text value. Enter a space. Right-click the paragraph and select Add text... > Variable value. Select SSCC-CheckDigit.
Place the SSCC barcode
Right-click the cell and select Add Document Component > Paragraph. From the Alignment drop-down menu, select Centered. Click OK.
Right-click the paragraph and select Add barcode... > 1D barcode. Select the SSCC variable. Choose the CODE 128 option. Uncheck Generate checksum if you already have the check digit in the variable value. Adjust the width and height as needed.